Showing posts with label Oreos. Show all posts

Saturday, February 23, 2013

Ninjago!!


How did I forget to post this one?  I made these last year, and as a Mom of two little boy monkeys......well, these were a huge hit.  Ninjago.  If you have little boys in your family, you've heard of it (TV show....and a crazy amount of Lego toys).  If you don't have boys.....well then, you may have escaped this one ;)  Both of my boys have been crazy for this series since it first came out, so when a dear friend told me that she was throwing a Ninjago birthday party for her Kindergartener, I jumped at the chance to try to do some Oreo pops of these guys.

What you'll need:

Oreos
lollipop sticks
yellow candy melts
black candy melts
candy melts for each of the colors of the ninjas you want to include, I used:
red candy melts
white candy melts
black candy melts
green candy melts
blue candy melts
plastic squeeze bottles or plastic bags


To do these, you'll start with the basic Oreo Pop technique that How Does She has detailed in a step-by-step.  One you've got your base color (Which ninja did you start with?  The blue and green ninjas are the most popular at our house!), you're going to add an rounded rectangle of yellow for the face, using yellow candy melts.  Next, it's time for the eyes and eyebrows, using black candy melts, or chocolate.  I found that using a little squeeze bottle was easiest to get perfect little dots for the eyes.

Lastly it's time for their head wraps.  You're going to drizzle more of the colored candy melt, just like you do for the Mummy Oreo Pops.  And voila!  You've got yourself a team of ninjas!

Have fun!  And Enjoy!

Sunday, December 30, 2012

Oreo-Stuffed Red Velvet Crinkles


Did you have a Merry Christmas?  As always, we had a crazy busy holiday.....but full of family, friends and fun!  

One of the desserts I brought to my in-laws on Christmas Eve were these Oreo-Stuffed Red Velvet Crinkle cookies from Sprinkles Bakes.  Any dessert containing Oreos is automatically placed on the "To Bake" list at our house.  But with the red velvet cookie outside, and the layer of powdered sugar outside.....these screamed Christmas to me.  

The cookie bakes up to what the hubby described at a cake/cookie.....which meant he loved it!  Be careful how much cookie dough you put around the Oreo though.  The first few I made turned out big enough to feed a neighborhood!  And remember to do a final roll in the powdered sugar right before you stick these bad boys in the oven.......it'll give you an extra crinkle-y outside!

Check out Sprinkles Bakes for the recipe.....and Enjoy!!


Monday, December 10, 2012

Christmas Treats

Oh my.....I can't believe Christmas is almost here!  Every year it feels like time somehow accelerates once the school year starts, and before you know it......the holidays are here!  So, if you're still looking for something cute to put together for the holidays.....here's some ideas:


How about these fun Oreo Snowman Pops?


Or these cute Oreo Penguin Pops?


Feel like doing cakepops instead of Oreo pops?  How about a little Rudolph?


But what about if you're not in the mood to make pops?  Well, how about some Christmas tree cupcakes instead?

Whatever you end up making, just remember to have fun and relax!  It's just sugar :)

Sunday, November 18, 2012

Thanksgiving Turkeys

It's almost Thanksgiving!  Are you ready?  Me, well......no.  But at least I don't make the whole dinner......I'm just responsible for dessert.  So every year I usually bring something that's yummy for adults.....and something fun for the kiddos.  Since I'm a little behind this year, I thought I'd show some of the turkeys I've done over the last few years.....in case you're looking for some cute inspiration :)

First off are some Oreo and candy turkeys that I had seen over at Our Best Bites.  We used these as placecards on our kids table that year.


Next up are turkey cakepops.  I haven't made many cakepops lately....I've been making Oreo pops more often since they tend to be quicker to make.  But people sure do love cakepops!  I usually make red velvet cakepops......but with these turkeys I decided that it might be creepy if you bit into a turkey and it was red inside.  I ended up doing a yellow cake instead.  For the step-by-step instructions on how to make these, check out Bakerella.


Lastly we've got a combination of the first two.....Oreo turkey pops.  I used a combination of mini and regular Oreos for these, and still found them to be quicker to make than the cakepops.


So that's it!  Have a safe and wonderful Thanksgiving!  

Sunday, March 4, 2012

Rainbow Oreo Pops


Since I've been making Oreo pops for each of the holidays lately, I thought I'd come up with one to do for St. Patrick's Day (before I move on to making what I really love about St. Paddy's Day.....boozy desserts!).  Instead of doing the pot of gold or a leprechaun, I thought I'd stick with the rainbow theme that I've seen a ton of in blogland these days (and who doesn't love a cute rainbow).  So, may I present my rainbow Oreo pops?!

To put these together you'll need:

Oreos
lollipop sticks
white candy melts
candy melts for each of the colors of the rainbow you want to include, I used:
red candy melts
orange candy melts
yellow candy melts
green candy melts
blue candy melts
plastic squeeze bottles or plastic bags

First you're going to start with a basic Oreo pop dipped in white candy melts (or white chocolate).  If you need a refresher course on how to put the Oreo pops together, go to How Does She.....they've got a great step-by-step tutorial on how to make them.  Once the white coating has started drying you can move on to the rainbow.

I melted each of the different colored candy melts separately, then placed them each into plastic squeeze bottles.  If you don't have plastic squeeze bottles to use, you could place the melted candy melts into separate plastic bags and snip of the corner to squeeze it out of.

Starting with the red, make a semi-circle shape to start your rainbow.  Continue with the red for all of your Oreo pops, to give the red a chance to firm up a bit before starting on your next color.   Moving on to orange (or whatever the next color in your rainbow is), simply make another semi-circle right next to the red.  Continue doing this with all of the colors of the rainbow that you are using.

Once the rainbows are complete, you're going to put your remaining melted white candy melts into a squeeze bottle to make the clouds.  To get the definition on the clouds you'll want your white candy melts to be melted but close to room temperature (not hot).  The hotter the candy melts are, the more you'll just end up with a glop of white, rather than a cute, billowy cloud.  You'll just make some big dots with the white, while covering up the ends of the rainbow.  And you're done!

Note: I think that for this job, the little plastic squeeze bottles work much better than using a plastic ziploc bag, but you will want some kind of bottle brush to help you washing them out afterwards.  Not the funnest job in the world, but with some hot soapy water, you will get all of the remaining candy melts out of there.

Enjoy!

This post is linked to:

Monday, February 13, 2012

Happy Valentine's Day

Happy Valentine's Day everyone!  I hope that you are all able to spend time with the ones that you love today.  We'll be spending part of our day at our Kindergartener's Love program that his school is putting on with all of the Kindergarten classes.  I've been spying on some of the rehearsals, and I can't wait for the hubby to see it!  Our little guy sure loves being up their.....singing with the biggest smile!  Aside from that we don't have too much planned.....just spending the day together and having fun!

For our little guys class I decided to come up with another Oreo to hand out for Valentine's Day.  Since I couldn't come up with a way to do anything heart shaped, I settled on ladybugs.  I know they're not necessarily Valentine's Day-y, but they're red and they're cute.....enough for me!

I first got the idea for the ladybugs when I saw them posted on the Pop.o.licious Facebook page about a month ago.  The picture they posted was from Party Pinching, and although I didn't stick with what they did, they definitely got me going on the ladybug kick.

To make these cuties you'll need:
Oreos (regular or double stuff.....your call)
red candy melts
black candy melts
candy eyes
black edible marker (or purple, brown, or blue)

I decided to make these without the lollipop stick.....I thought they would be cute just on their own.  Up to you which way you want to do it.

First you'll want to dip your Oreos completely into the melted black candy melts.  I use a fork to pick up the Oreo and shake off the excess candy melt coating.  Slide the Oreo off of the fork onto a sheet of wax paper.  Add the candy eyes to one side of the Oreo before the black coating has started to harden.

Once the black coating has hardened, it's time to melt the red candy melts.  Hold the Oreo where the candy eyes are and dip the side of the Oreo at an angle one way, and then the other.  Shake of the excess a bit, and then plance back on the wax paper.

After the red coating has hardened, it's time to break out your black edible marker, or in the case of me, my purple and blue.  My black marker had decided it no longer wanted to deposit ink on anything but my fingers......oh well!  You really can't tell that the purple or blue are even purple or blue.....so any dark color will work.  You're just gonna make some dots.....however many you want.  Let that ink dry, and you're done!!  Bag those little cuties up and tie with some twine.

I need to remember to take step-by-step pictures one of these days.....I just have a tendency to be so focused on what I'm doing that I completely forget about that until I'm all done.  Sorry about that......

So there ya have it.....what my little guy is taking to his class for Valentine's Day.  Hope you have a lovely day......and Enjoy!!


This post is linked to:

Monday, December 12, 2011

Penguin Oreo Pops


Are you sick of all the Oreo pop and cakepop posts yet?  Well, too bad, because I've got another one today!

I picked up some football-shaped Oreos from the store around Thanksgiving, and was trying to figure out what to make with them.  Then I saw a penguin cakepop post from Pop.O.Licious, and decided to give that a try in Oreo form.  Because of the shape of the Oreos, I didn't put any feet on them, but if I had used regular Oreos I think I would have, because it looks pretty darn cute.  You could also put little Santa hats on them, if you wanted that extra little Christmas something.

Check out the Pop.O.Licious site for instructions on making these cute guys, as well as a ton of other Christmas themed cakepops!!

This post is linked to:
Monday, Mmm....Dessert - Holiday Food Blog Hop - T' Time - Tea Party Tuesday - Link Party - Tasty Tuesday - Holly Bloggy Christmas - Crazy Sweet Tuesday - These Chicks Cooked - Link it Up Wednesday - Full Plate Thursday - Turning the Table Thursday - Bake with Bizzy - Sweet Treats Thursday - It's a Keeper Thursday - Show Off Your Stuff - Fusion Fridays - I'm Lovin' It - Fun Stuff Fridays - Anything Goes Linky - Sweet Tooth Friday - Friday Favorites - Seasonal Inspiration - Sweets for a Saturday - Christmas Traditions Linkup - Sweet Indulgences Sunday - It's a Celebration


Monday, December 5, 2011

Oreo Truffles

It's that time of year again.......time to make lots of goodies to take to all your friends and family!  One thing that I was introduced to last year, and will be making tons of this year......Oreo Truffles!!

I know that I'm totally not original in this, and you've probably already seen this all over blogland or Pinterest.  But just in case......if you haven't tried these yet, you have nooooo idea what an amazing thing you are missing!

These couldn't be easier!  And to those who say they aren't bakers......guess what?  No baking required!

The original recipe for these comes from Kraft.  I use my food processor to make this super fast, but if you want to do this by hand, it'll just take a little more muscle, and you won't get quite as smooth of a center.  I like the smooth center better than having chunks of cookie.....but it's up to you!  You're only going to need a few ingredients:

OREO TRUFFLES
1 (16.6 oz.) package of Oreos
1 (8 oz.) block of cream cheese, softened
candy melts (I use white candy melts)
sprinkles

Place all of the Oreos into the bowl of a food processor and pulse until the cookies have all been finely ground.  Add the cream cheese to the food processor and continue to pulse until well blended with the cookies.

Using a small cookie scoop, scoop out a small ball of the Oreo mixture and roll in your hands until it forms a ball.  Place and a sheet pan lined with wax paper or parchment paper.  Continue until all of the Oreo mixture has been rolled into balls.  Place in refrigerator until firm.

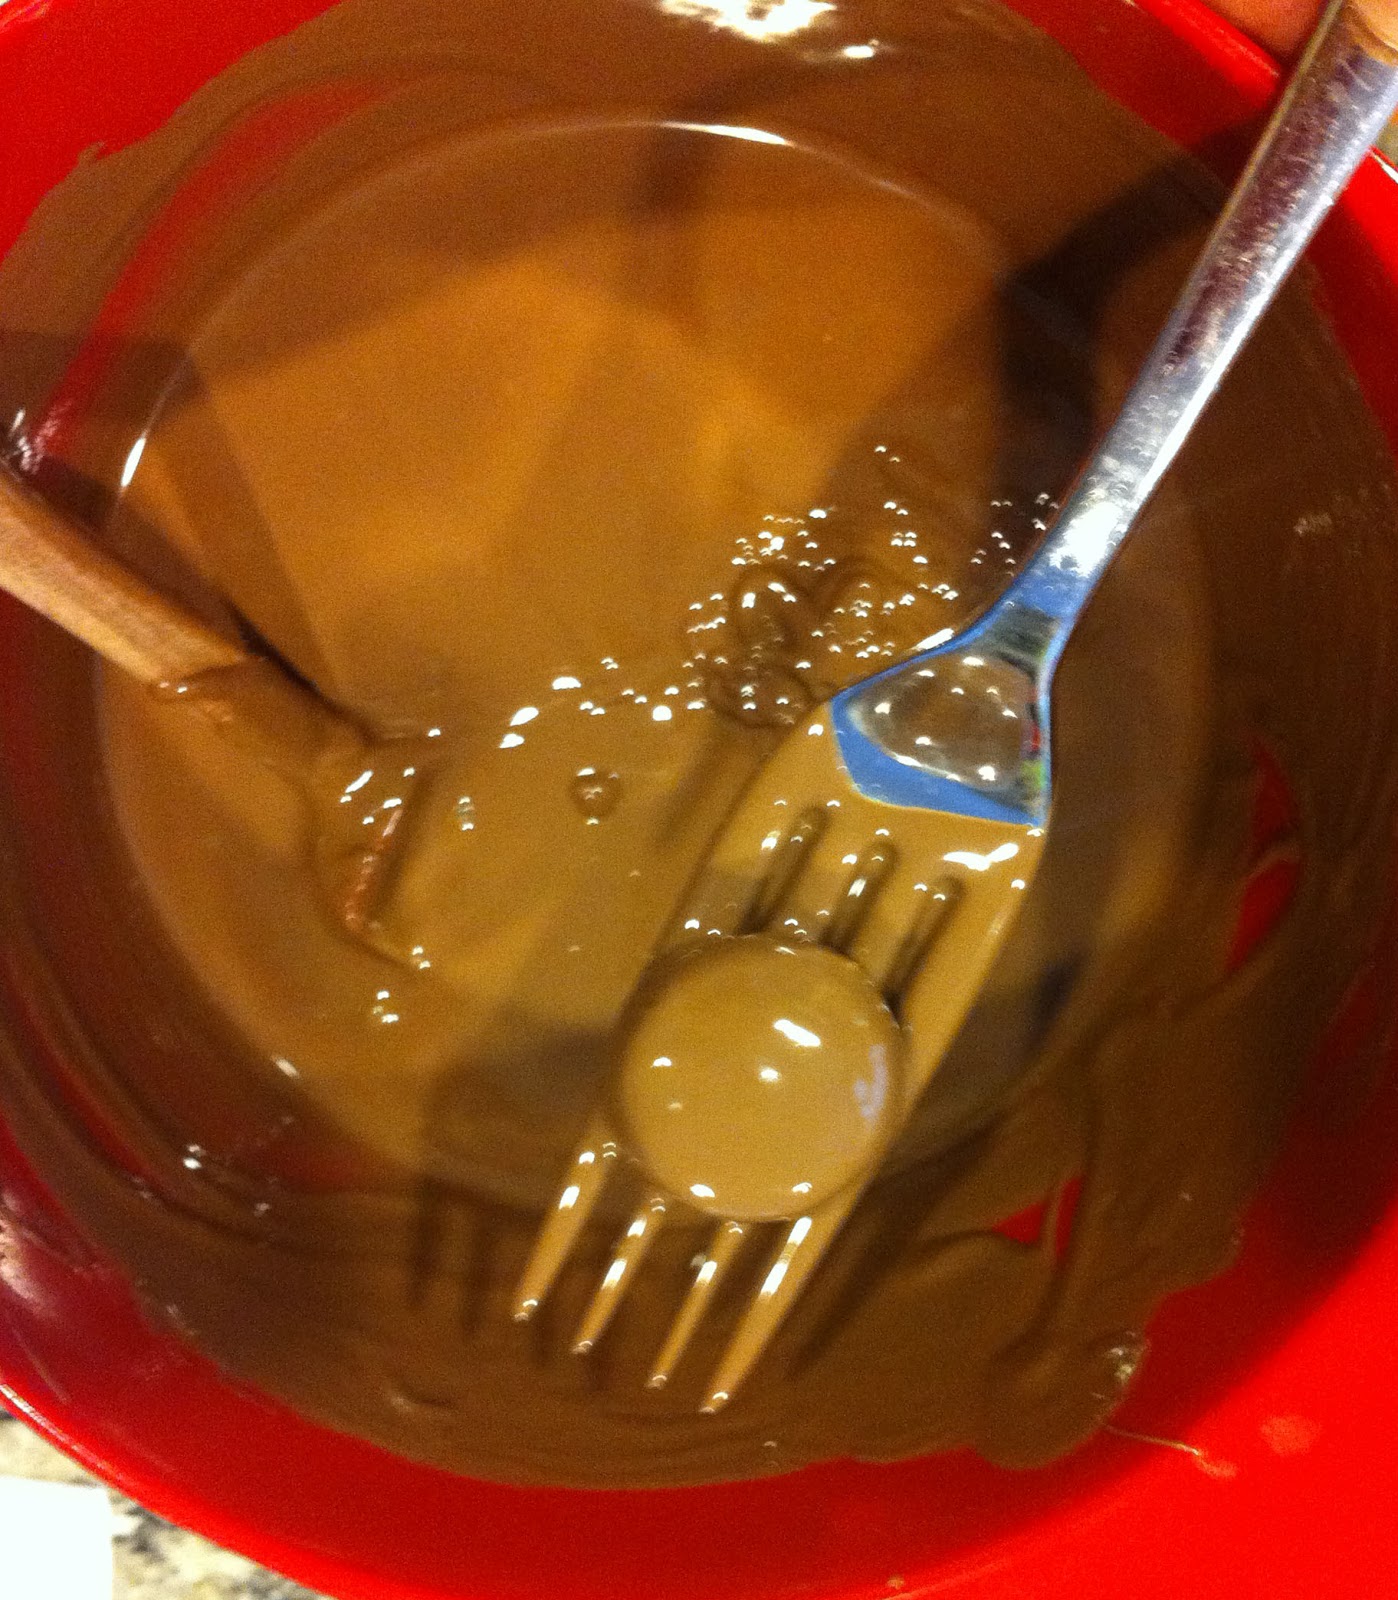
Melt candy melts in the microwave, and one by one, dip the Oreo balls into the candy melts.  Scoop out the ball using a fork and shake off the excess before sliding back onto the sheet pan.  Immediately top with sprinkles before the candy melts start to harden.  Continue until all balls have been covered.

Store in refrigerator until ready to serve.  I like to serve them in mini cupcake liners......just makes a nicer presentation than throwing them on a plate.

Enjoy!

This post is linked to:
This Week's Cravings - Monday, Mmmm....Dessert - Tuesday Talent Show - Tasty Tuesday - Crazy Sweet Tuesday - T' Time - These Chicks Cooked - Link It Up Wednesday - Bake With Bizzy - Turning the Table Thursday - Full Plate Thursday - Sweet Treats Thursday - Show Off Your Stuff - Sweet Tooth Friday - Friday Favorites - Fusion Fridays - Anything Goes Linky - I'm Lovin' It - Fun Stuff Fridays - Seasonal Inspiration - Friday Food - Sweets for a Saturday - Sweet Indulgences Sunday - Holiday Food Blog Hop - A Themed Baker's Sunday

Sunday, December 4, 2011

Oreo Snowmen Pops


Ready for another Oreo pop?  After the success of my Halloween and Thanksgiving Oreo pops, I decided to stick with Oreo pops (instead of cakepops) for Christmas as well.  This time around we've got Oreo snowmen!

I'd seen a picture of some Oreo pop snowmen on Pinterest (from The Idea Room) and tried following their instructions.  However, they used mini chocolate chips for the eyes and mouth of the snowman.  When I tried this, it just didn't look right to me, so I decided to go with candy melts instead.  I still had some black and orange candy melts left from Halloween, so I melted them and put it in squeeze bottles.  I was able to get perfect little black dots for the eyes and mouths, and made a little orange squiggle for the carrot nose.  Once I figured out how I was going to do these, they were super fast to finish.  Still need an Oreo pop tutorial?  Check out How Does She? for a step-by-step.

Packed up and ready to go to our first Christmas party tonight.


Have fun!  Enjoy!

This post is linked to:

Sunday, November 20, 2011

Oreo Turkeys 2011


This past week I've posted some of the turkeys that I made for Thanksgiving last year, the turkey cakepops, and the Oreo turkeys.  I didn't feel like doing repeats this year, so I came up with a compromise and did Oreo turkey pops.

If you still need a primer on how to do Oreo pops, hop on over to How Does She?, and they'll give you all the basics.

To put these gobblers together you'll need:

Double Stuff Oreos
Mini Oreos
Harvest candy corn (or regular candy corn)
orange chips from a pack of Rainbow Candy Coated Chips
royal icing eyes (whatever size you want)
mini heart sprinkles
lollipop sticks
milk chocolate candy melts
dark chocolate candy melts
styrofoam blocks to place the pops in

First off, you're going to make the heads of these cute little guys.  Melt the milk chocolate candy melts in a microwave safe bowl.  Take a mini Oreo and dunk it in the melted chocolate and use a fork to scoop it out and shake off the excess.  Slide the mini Oreo off of the fork and onto a cookie sheet lined with parchment paper or wax paper.

Add on the royal icing eyes, the orange chip for the beak, and the heart sprinkle turned upside down for the waddle.

Let the turkey heads cool and firm up as you move on to the body of the turkey (and the pop part).


Melt the dark chocolate candy melts in a microwave safe dish.  Line up your double stuff Oreos on a wax paper lined cookie sheets and separate the sides of the Oreos.  Take the end of a lollipop stick and dip about 1/2 inch to 1 inch in the melted chocolate then press down into the frosting of the Oreo.  Place the other half of the cookie back on top.

Once the chocolate inside the Oreo has cooled, dip the entire Oreo into the melted chocolate and gently shake off any excess.  Place the pop on the wax paper, and then carefully place one of the turkey heads in the middle of it.  Let cool and harden.


To add the candy corn feathers onto your turkeys, you'll want your dark chocolate candy melted but on the cool side, so that it will harden faster.  If the candy melts are rather warm, let it cool off a bit before proceeding.  Place a few of the pops in the styrofoam block, so that the pops are standing upright.  Break off the tip of the candy corn, so that there is a flat surface for them to stick to, and the dip the candy corn partially in the melted chocolate.  Place the candy corn on the top of the turkey in the groove where the frosting of the Oreo is, and hold till it begins to set.  If you do this when the candy melts are melted but not warm this will happen much faster.  Keep going till you're done.  I only did three candy corns per turkey because I am not patient.  If you are, then I think that five candy corns would look adorable!


Then all you'll need to do is pack these bad boys up!  I always bag them individually and then place in a basket, since we travel to our Thanksgiving celebration.


Have fun, have a very Happy Thanksgiving, and Enjoy!

This post is linked to:
Tea Party Tuesday - Tuesday Talent Show - Tasty Tuesday - T' Time - Crazy Sweet Tuesday - These Chicks Cooked - Full Plate Thursday - Bake with Bizzy - Sweet Treats Thursday - Show Off Your Stuff - Anything Goes Linky - Friday Favorites - Sweet Tooth Friday - Sweets for a Saturday - Sweet Indulgences Sunday - Monday, Mmmm.....Dessert!

Friday, November 11, 2011

Oreo Marshmallow Bars

Time for another recipe from Pinterest!!  Yep, Pinterest is definitely a dangerous place......I think the biggest board that I have is for food.....and most of it is sweet stuff.....my weakness in life.  Here's my Pinterest boards.

This was one of those "why didn't I ever think of that" kind of recipes.......so easy......essentially rice krispy treats, substituting the rice krispies with crushed Oreos.  The darkness of your bars depends on how much you crush your cookies.  The more crushed they are, the more chocolately they'll look.......leave them more chunky and you'll get more of a cookies and cream look to the bars.

Check out Picky Palate for the recipe......and Enjoy!

This post is linked to:
Sweets for a Saturday - Sweet Indulgences Sunday - Seasonal Inspiration - Monday, Mmmmm.....Dessert - Tea Party Tuesday - Tuesday Talent Show - Tasty Tuesday - Crazy Sweet Tuesday - Anything Goes Linky - These Chicks Cooked - Link It Up Wednesday - Full Plate Thursday - Sweet Treats Thursday - It's a Keeper Thursday - Show Off Your Stuff - Fusion Fridays - Friday Favorites - Sweet Tooth Friday - Friday Food

Wednesday, November 9, 2011

Oreo Turkeys


Do you know what you're making for Thanksgiving yet?  We go to my brother-in-law's in Newport Beach every year, and I'm the dessert-bringer (big surprise, right?).  We've got a huge crowd there, so there's always tons of food.  I think I ended up bringing five different things last year.

One of the things I made last year were these Oreo and candy turkeys to use as placecards for the kid's table (there are around 18  kids at our Thanksgiving).  I made little toothpick flags with the kids'  names and poked that into the chocolate and placed them at the table.  Because I made these pretty late the night before Thanksgiving, I wasn't too concerned with making all the details perfect (Ugh, those feet!).....but you know what?  The kids loved them!  Oreos and candy glued together with chocolate?  What's not to love?

Do you want to give these a try?  Go to Our Best Bites for a fantastic step-by-step of how to put these together......Enjoy!

Now pardon me while I go try to figure out what I'm bring this year.......

This post is linked to:
These Chicks Cooked - Full Plate Thursday - Sweet Treats Thursday - Turning the Table Thursday - It's a Keeper Thursday - Show Off Your Stuff - Sweet Tooth Friday - I'm Lovin' It - Anything Goes Linky - Friday Favorites - Fusion Fridays - Sweets for a Saturday - Sweet Indulgences Sunday - Seasonal Inspiration - Sharing Sundays - Monday, Mmmmm.....Dessert - Tea Party Tuesday - Tuesday Talent Show - Tasty Tuesday - Crazy Sweet Tuesday - Thanksgiving Traditions - Link It Up Wednesday - A Themed Baker's Sunday

Monday, October 17, 2011

Oreo Mummy Pops


You've probably seen these Oreo Mummy Pops before......they were all over blogland last Halloween.  I made them twice last year, and they were such a huge hit, I had to make them again this year!  We had our annual neighborhood Halloween party this weekend, so I whipped up a batch to bring.  What kid can refuse an Oreo covered in chocolate??  Even my older son, who is a notoriously picky eater (even when it comes to dessert), will devour one of these.  I'll be making another batch of these closer to Halloween to pass out at my younger son's preschool class (you have been warned!).......unfortunately I can't bring it to my older son's Kindergarten class......no homemade treats allowed (BOO!).


These treats are really simple to put together......and they come together waaaayyyy faster than cakepops do!  For instructions on how to make the Mummy pops, check out How Does She.  If you've never made Oreo pops before, and need instructions on the basics of putting them together, they've got a step-by-step guide here.

My little mummies from last year packed up and ready for school!
In case you were wondering.....we all dressed in Star Wars costumes this year (after being super heroes last year)......yes, we are dorks, but it was fun!


Enjoy!!

This post is linked to:
Monday, Mmmm......Dessert - Tuesday Talent Show - Tasty Tuesday - Tasty Tuesday - Crazy Sweet Tuesday - These Chicks Cooked - Cast Party Wednesday - T' Time - Turning the Table Thursday - Bake with Bizzy - It's a Keeper - Sweet Treats Thursday - Full Plate Thursday - Show Off Your Stuff - Sweet Tooth Friday - Friday Favorites - Anything Goes Linky - Fusion Fridays - I'm Lovin' It - Friday Food - Sweets for a Saturday - Seasonal Inspiration - Fat Camp Friday - Sweet Indulgences Sunday - This Week's Cravings - Halloween Traditions Link Up

Wednesday, July 27, 2011

Cookies and Cream Cupcakes


Our family's obsession with all things Oreo should be glaringly obvious at this point, so when I saw the recipe for Cookies and Cream cupcakes on Confessions of a Cookbook Queen, it didn't take me much convincing to give these a try.  I have already tried a couple of her recipes before (Thin Mint Truffles and Ice Cream Cone Rice Krispy Treats), and they both came out fantastic......so I knew this one would as well!  If you haven't checked out her blog before, you've gotta see all of the amazing sweets she comes up with!

I did make a couple of changes....mainly because of what I had on hand.  I didn't have any marshmallow fluff, so I left out the filling, and the only box cake mix I had was a chocolate one, so I used that (just following the box instructions).  The frosting is what really makes these for me......a fantastic vanilla buttercream blended with crushed Oreos!  And don't forget the whole Oreo that gets placed at the bottom of the cupcake liner....a fantastic surprise!

The day after I made these, I saw that Bakerella had done her own version of a Cookies and Cream cupcake.  It appears that Oreos are on everyone's brains these days!

Check out Confessions of a Cookbook Queen for the recipe.....and Enjoy!!


This post is linked to:

Tuesday, July 5, 2011

Oreos Love Company!

Look at these bad boys!!  Are these insane??  Oreos just seem to love to get together with other delicious things to create an even more amazingly scrumptious concoction!  And I do have to say that these things are ridonkulous!! That's right.....I just said ridonkulous!

What are they?  Well.....start with a base layer of chocolate chip cookie dough......top that with a layer of Oreo cookies layed out side to side....you still with me?  Then you're going to top all of that off with a layer of brownie mix (box mix or from scratch...your call).  And then you're going to stuff your face when they come out of the oven and not worry one little bit about how many calories could possibly be crammed into one little piece of these.  I made these for 4th of July.....and calories don't count on a holiday, right?

I mean, just look at the pan when it's getting put together....you just know that it's going to be nothing less than a little bite of heaven!

I had been seeing a picture of this going around on Pinterest for the last couple of months....you do look at Pinterest right?  It's totally addictive.....ok, so maybe if you're not on it yet, you should stay away.....because it's really totally time sucking!  In case you were curious though.....here's my boards :)

Anyways, I kept seeing this Ultimate Chocolate Chip Cookie n' Oreo Fudge Brownie Bar.....and I was waiting for a chance to make it when there would be enough people to share in the amount of calories it would take to consume a pan of these...and Bang!  4th of July at my sister-in-law's house....perfect!!

I actually decided at the last minute to throw this together and it really couldn't be easier.  I followed their recipe and did the chocolate chip cookie dough they had listed....but if you were really in a crunch (or you're my sister-in-law who doesn't bake things from scratch) you could even substitute a refrigerated cookie dough.....with so much going on in the bar, I don't think it would be detected!  Since I was in a hurry, I threw in a box of Betty Crocker Fudge Brownies.....my go-to brownies when I need that old school brownie fix (since that's all we had at home growing up....my mom almost never made stuff from scratch).  Bake this heavenly pan of chocolate-y goodness for about 50 minutes.....and then you'll have to wait to let it cool off enough to not completely fall apart when you cut into it.    I'm not joking when I say this pan felt as heavy as taking a turkey out of the oven!!

I'm starting to think that maybe those chefs who bust out the Turducken at Thanksgiving are onto something......sometimes more IS better!!

So check out the blog Kevin and Amanda for the recipe.....and don't say I didn't warn you......and Enjoy!!


This post is linked to:
Tuesday Time Out
These Chicks Cooked
Cast Party Wednesday
Picnic and Finger Foods Party
Full Plate Thursday
Sweet Treats Thursday
Turning the Table Thursday
Friday Food
Sweets for a Saturday
Sweet Indulgences Sunday
Everyday Sisters Sharing Sundays

Sunday, June 19, 2011

Happy Father's Day! And more Oreos!

I'm ba-ack!!  Just got back from a family vacation to North and South Carolina, and I couldn't wait to get back into the kitchen!!  Seriously, we were home for about an hour before I started getting stuff ready in the kitchen to bake something.....it had been almost two weeks without making anything!  Talk about withdrawal!

Since I hadn't even had a chance to get to the grocery store, I had to work with what I had.....and you guess it.....I've got Oreos!

One of my mommy friends from my son's preschool, Liz, gave me some of these cookies right before we left on our trip......Oreo Chunk Cookies, with chunks of Oreos cookies, as well as some Oreos ground and blended into the dough......fantastic!  They basically taste like Cookies and Cream ice cream in cookie form.......so delicious!  I couldn't wait to make a batch of these bad boys!  

I did a search to see if I could find the same recipe already online, but none of the other recipes that I found included the ground up Oreos.  Also, most included chocolate chips, which Liz's didn't, so for a change I'm posting a recipe, instead of just including a link.  If you don't want to bother with the ground Oreos (but please do try it) you could use this recipe from Cookie Madness.

OREO CHUNK COOKIES

12 T unsalted butter, softened
1/2 cup plus 2 T granulated sugar
1/2 cup plus 2 T dark brown sugar
1 1/2 t vanilla
1 egg
2 cups unbleached all-purpose flour 
1 t baking soda
3/4 t salt
1/2 t baking powder
1/2 t cream of tartar
7 Oreos crumbled in a blender or food processor until the consistency of dirt
12 broken Oreos (broken into halves, then each half into thirds or fourths)

Directions:
1.  Preheat oven to 350 degrees F.
2.  Cream the butter and sugars together until smooth and fluffy.  Add the vanilla and egg and mix until thoroughly combined.
3.  In a separate bowl, mix together the flour, baking soda, salt, baking powder, and cream of tartar.
4.  Slowly add the flour mixture to the butter mixture and combine until fully incorporated.
5.  Add the crumbled Oreos and mix until just combined.  Fold in the broken Oreos gently with a spatula.
6.  Using a medium cookie scoop (try not to crush up the Oreo pieces too much), place dough balls 3 inches apart on a parchment lined cookie sheet and flatten the tops slightly.
7.  Bake for about 12 minutes or until just slightly darkened around the edges.  Do not overbake.  Cool slightly on cookie sheet for about 5 minutes, then transfer to a wire rack to set.

Well, there ya go!  I actually tried out one other recipe yesterday, but I think I should probably go see what the hubby is up to.....since it is Father's Day and all.  So give these a try.....and Enjoy!!  And Happy Father's Day!!


This post is linked to: